PROJECT DEVELOPMENT
After outlining my final concept I started developing my outcome, I started this process by creating website site maps that explored the navigation of my website. Additionally, I also created a series of thumbnail designs and scamps to help me define the basic layout and navigation of my site.
SITEMAPS
I started the design process by creating a range of sitemaps that developed through a process of navigation analysis to form the final mapping of my website.
THUMBNAILS
Next, I created a range of thumbnail layouts for each page of the site exploring different page compositions. When designing the thumbnails I wanted to focus on the navigation of content, content hierarchy and the amount of information displayed on each page.
SCAMPS
Developing from the initial thumbnail layouts I created a range of scamps to further explore the most successful compositions.
DESIGN DECISIONS
After developing a basic site layout through my series of thumbnails and scamps I was in a position to start making design decisions regarding the aesthetics of the website.
Aesthetic decisions;
- Typefaces.
- Colour scheme.
- Illustration style.
TYPEFACES
In this project I will not be outlining a specific header font, as I want the typography to be individual and hand-rendered to reflect the DIY ethos of skateboarding history. A consistent style of typography will be used for the header of each page to create a recognizable title. However, type applied on the timeline will vary and evolve with the content shown.
When choosing a typeface for the body copy of the site I wanted to ensure that the font was web-safe. Choosing a web-safe font will ensure that the font is accurately represented when accessed by users on the internet. Moreover, when choosing a font I looked for a typeface that is aesthetically relevant to the content of my site, but is also legible at various sizes.
After assessing the web-safe fonts available to designers I outlined 'Courier new' as my chosen typeface. The font has relevance to my content as it has similar qualities to a typewriter fonts. When researching into DIY skateboard zines I noticed that a lot of the typefaces applied were all typewriter style fonts. Therefore, 'Courier New' has both aesthetic and historic relevance to my sites content and so is an appropriate choice of typeface.
COLOUR SCHEME
When defining the colour scheme for the site I wanted to create an aesthetic image that would reflect the vibrant nature of skateboarding history while acting as an eye catching visual prop for the audience. Therefore, when outlining my colour scheme I chose colours that would reflect the colourful past of skateboarding, specifically relating to the movement in the 60s and 70s when skateboarding rapidly started gaining popularity.
Similarly to the choice of typeface, I wanted the chosen colours to be web-safe to ensure that my content is accurately represented when accessed by the audience online. To ensure that the chosen colours were web-safe I used illustrator and opened the web-safe colour collection.
My chosen colours are displayed below with their individual colour codes.
ILLUSTRATIONS
The majority of my sites content will be illustrative, as outlined in my concept it is essential to have an illustration heavy content to successfully communicate information to my target audience.
To reflect the DIY ethos present throughout skateboarding's history I decided to hand draw each individual illustration. Creating my images this way will help to form a consistent aesthetic theme as the typographic headings will also be created by hand. Moreover, the hand-drawn illustrations will also help to create the rough, grungy aesthetic outlined in the development stages of the project.
WIREFRAMES
The wireframes for the simple pages of the site, such as homepage, about, sources and blog were all created prior to the creation of any of digital aspects. Due to their simple layout creating the wireframes for these individual was not challenging, as there were only a few elements that needed sizing and placing. However, due to the complex layout of my timeline, combined with multiple illustrations and type, creating a reliable wireframe for my timeline just was not achieveable. Therefore, before creating the timeline wireframe I created a mock up of the website in indesign and then used the document to help me take accurate measurements.
HOMEPAGE
ABOUT
SOURCES
BLOG
TIMELINE
CONTENT ORGANISATION
After designing my range of wireframes I was in a position to start the production of my website. However, before doing so, I needed to finalise and organise the content of my website. The organised content will be used to help me highlight important parts of skateboadings history which will then be illustrated to visually communicate the content to the audience.
Content organisation - Link
PRODUCTION
Finally, after producing the majority of my wireframes I started the production of my website. The process was started by creating the range of hand-drawn illustrations that will form the majority of my sites content.
Due to the amount of illustrations and the lengthy process of hand drawing each individual image the creation process took up a large amount of my time, more so than I had originally accounted for. This would later come to affect the overall run of the project as I was already working to a very tight timescale after the first brief.
After the illsurations had been scanned in I used the live trace tool in Adobe Illustrator to create vectors of each individual illustration. A colour from the outlined color scheme could then be applied to specific illustrations.
SAVING IMAGES
After creating all of the individual illustrations I saved each one as an individual .png file with transparent background. All illustrations were saved into the images file in the root folder ready to be applied to the website during the coding stage of the project.
MONO-PRINTS
While collecting aesthetic research I came across a website that successfully applied a grungy style aesthetic that effectively reflected DIY zine culture. A similar, grungy aesthetic would relate perfectly to the content of the website and engage the target audience.
To create the desired, rough looking aesthetic I first needed to create a series of textured backgrounds, to do so I utlised a print method called mono printing.
INITIAL PRINTS
After the prints had been scanned in I applied a colour selected from the chosen colour scheme to each of the backgrounds to ensure that the website was vibrant and engaging as outlined earlier in the project.
HOMEPAGE BACKGROUND
During the development stages of my project I decided that the background of the homepage will be formed from an image relating to an important point of skateboarding history. As it is impossible to take a historically relevant image of my own I decided to utilise one from the internet and adapt it slightly.
Using Photoshop I applied a halftone effect to an image of Tony Alva in his early pool riding days, this left the image recognizable and allowed me to adjust the images resolution to ensure that the image quality was high.
MOCK-UP LAYOUTS
After I had created the illustrations and backgrounds for my website I had all the necessary content needed to start producing my website. As mentioned above, creating the wireframes for the timeline section of my site was almost impossible due to the complex layout and extensive content. Therefore, I started the production process by first creating mock-up layouts of the site in Indesign. The digital layouts were then used as a reference when creating the timeline page wireframe and coding the webiste.
HOMEPAGE
TIMELINE
ABOUT
BLOG
SOURCES
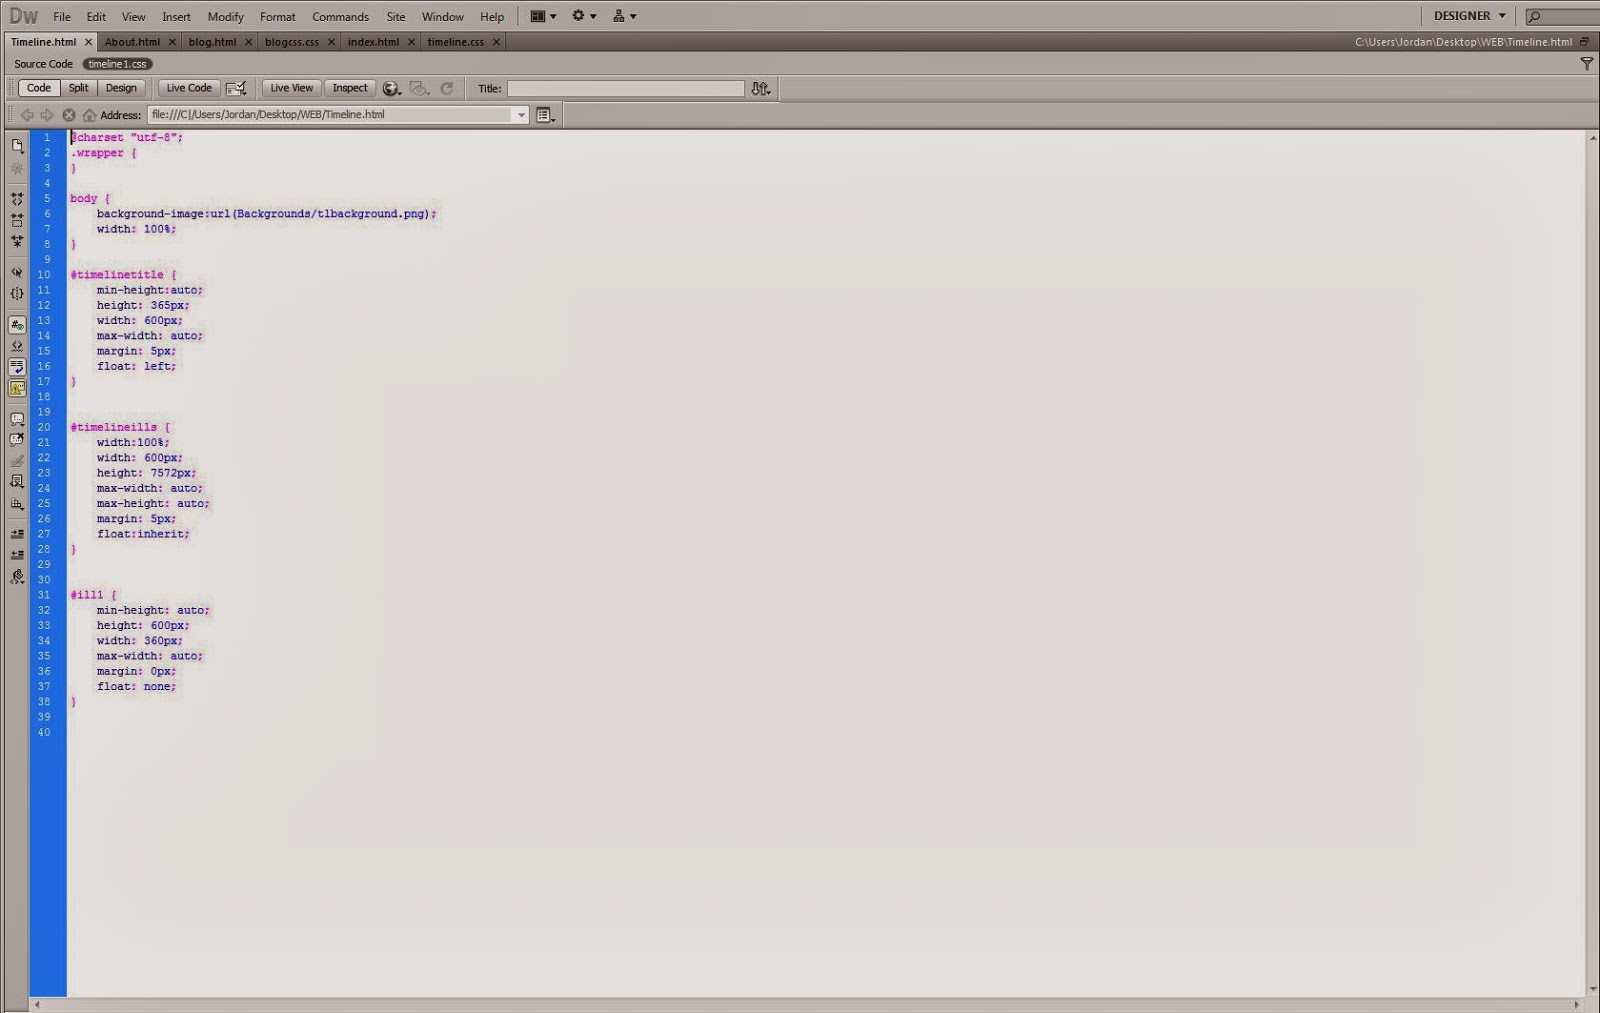
CODING
After creating my series of wireframes and the mocked-up version of my website in Indesign I was ready to start the coding aspect of my websites production.
As it had been a few weeks since the last web design session with Simon I recapped my notes taken during the sessions to jog my memory of how the coding should be completed. Unfortunately, the notes taken during the session were not that helpful due to the lack of informed content on each post. Therefore, I had to join a website called code-academy to help me learn the coding process.
The website takes users through step by step instructions on how to code a website from scratch. The website was helpful in teaching the basics of coding and how html and css work together to create the different aspects of the website.
After a brief re-cap of the basics of coding I started with the digital production of my website.
- Coding was started by first creating five individual documents for each of the five pages of the website.
- I then outlined the title of the website on each page between the <head> tags, this code enabled the sites title to appear on the browser upon opening each page.
- As outlined in the development stages of the project I wanted the site to be responsive so that the sites content could be accessed from multiple devices. Therefore, I started the css coding by adding a responsive background to the homepage.
- It was a very time consuming process as responsive image backgrounds were not covered during the web sessions. Therefore, I took information from coding websites on the internet that instructed users as to how to create a working responsive background.
- I also added the navigation to each page, this will allow users to link from page to page as outlined by my sitemap during the development stages of the project.
PROBLEMS
As I progressed with the coding aspect of my website I encountered multiple problems regarding the placement and layout of various items, making the website responsive and creating a working navigation bar. All of the tasks only require a basic knowledge of coding, however I spent hours and hours trying to resolve small problems with little progression, this was stressful and frustrating as I only had a limited amount of time to produce the website.
- The first problem I encountered was related to the individual positioning and sizing of the various website elements.
- Although the basic website navigation was working I was unable to get the navigation bar looking how I desired.
- Due to a lack of time and knowledge I could not add all of the individual illustrations to form the visual content of my website. To quickly solve the problem I had to add the timeline to the website as a singular image.
- Despite adding a css. rule depicting the size of the image it appeared over-sized and caused a loss of content and functionality.
Due to bad project management and a lack of coding knowledge I was left with little time to develop my website to the standard that I wish I could have. I feel truly disappointed with my outcome as it lacks any sort of similarity to my outlined design. Furthermore, I feel that all of the time spent creating the sites aesthetic image and individual illustrations is time wasted as they were never properly applied to a functioning site.
In future, when I am struggling with something i need to ask for help, instead trying to teach it to myself and getting frustrated and stressed when I fail to understand it.